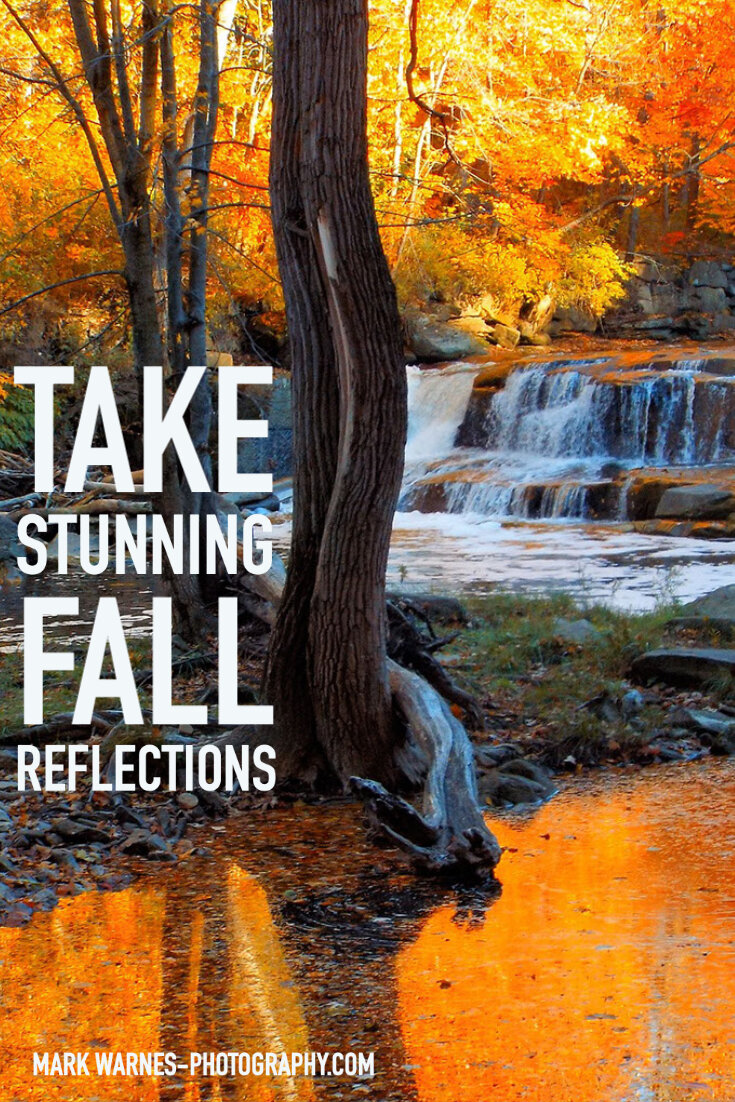
How to take stunning fall reflections.
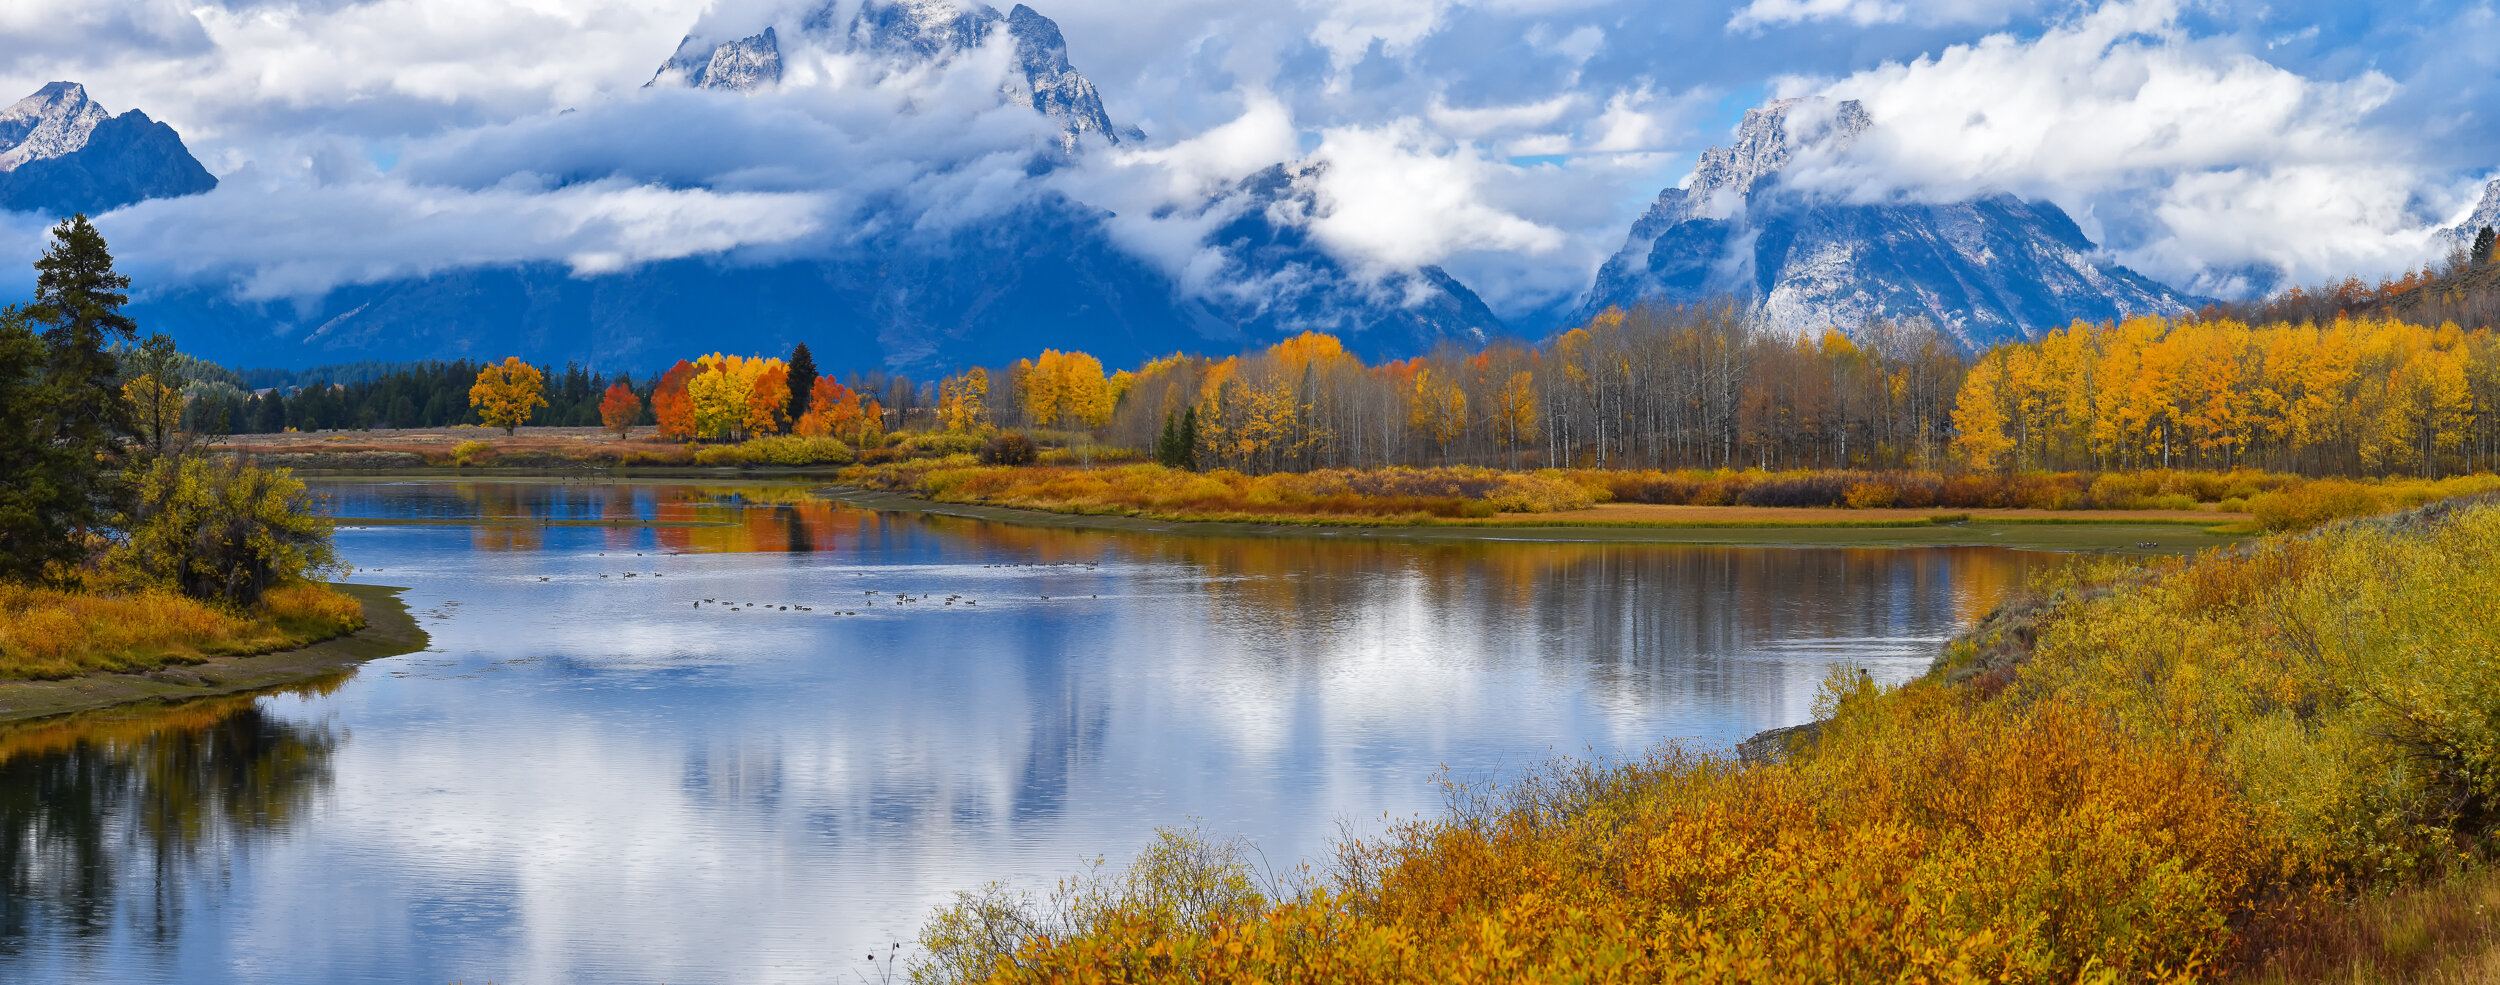
One of the best ways to create images that showcase the splendor of autumn is by looking to include some reflections in your images.
Some of the most beautiful reflection photos are created using water. When you’re out in nature, look for reflections in large bodies of water such as lakes, ponds and rivers. You can capture wonderful leaf reflections in these situations. The more intense the colours, the more beautiful the reflection will be.
Sometimes it will be the colours and tones in the reflections that provide the most visual interest in the photo. Photographing water or other reflective surfaces during golden hour (just after sunrise and just before sunset) is often the best time to capture stunning colours in your reflections.
Once you have found your spot a still, dry day is best as it will minimise movement on the waters surface. Early morning or late afternoon is best as the golden light will accentuate the autumnal colours.
A tripod is a necessity for this kind of photography-get one that is sturdy enough to safely hold your camera and lens. I use a carbon fibre Benro tripod with a 3 LeggedThing L plate. The L plate is a great idea-it attaches to your camera and acts as a tripod shoe and allows you to switch from portrait to landscape without resetting your tripod. Also use a cable release to avoid any unnecessary movement.
Lens wise I’d suggest a standard prime or a short zoom. I usually just stick to a Nikon 70-200 Zoom for this kind of work, and will maybe stitch several portrait photos together to form a panorama
Camera setting
Manual setting
Using automatic exposure settings may give you reflections that look darker than actual look, so set your exposure point manually, and expose for the area of water where there’s no reflection. You should strive to master your camera so that Manual is your default setting.
Aperture
To bring out details and stronger reflections and to provide enough depth of field to keep everything in focus, you have to use a smaller aperture. You may use around f/11 to f/14for landscapes or f/5.6 for smaller objects and area size.
Shutter speed
Use a fast shutter speed to avoid capturing the movement of the water ‘blurring’ the reflections too much and any other movement in the surrounding environment
ISO
Because you are using a smaller aperture and fast shutter, you may have to use a bit higher ISO value but try not to go above ISO 400 or 800 to avoid adding too much grain or noise to your image. Most modern camera can produce noise free images well past ISO800. Use the ISO to allow for the higher shutter speed, better some noise than blurry pictures.
There are two methods for capturing beautiful reflections, use the highest shutter speed that your settings will allow-a higher shutter speed can be enabled by adjusting the ISO.
I would suggest also taking a set of bracketed shots at different exposures and “photmerging” them into photoshop or Lightroom. This will ensure a full spectrum of shadows and highlights and will enhance the colours you are trying to produce.
The other method involves using either a set or rotating ND filter to take a longer exposure off the scene and smoothing the water into a more abstract body, Again, I would advise bracketing a series of images.
Polarising filters will reduce any glare on the water and make the colours more vibrant and saturated. Especially good for deep blue skies.
ND filters are normally used to reduce the amount of light that enters the lens. This helps even out the light and allows the use of slower shutter speeds during the day. You can use this filter to capture blurry, velvety smooth water, which can still work beautifully for colorful reflections.
A graduated ND filter will also allow you to apply the filter on just one side of the image, such as for an overexposed sky or the water at the bottom of the frame.


